Importing Scenario Elements
Description
When working with a standard scenario, you may need to reuse elements that were previously created in another scenario. Instead of recreating these elements manually, you can import them into the current scenario using the Import from Another Scenario feature in Orchestra Web Designer. It improves consistency, reduces setup time, and ensures standardization across scenarios.
Prerequisite
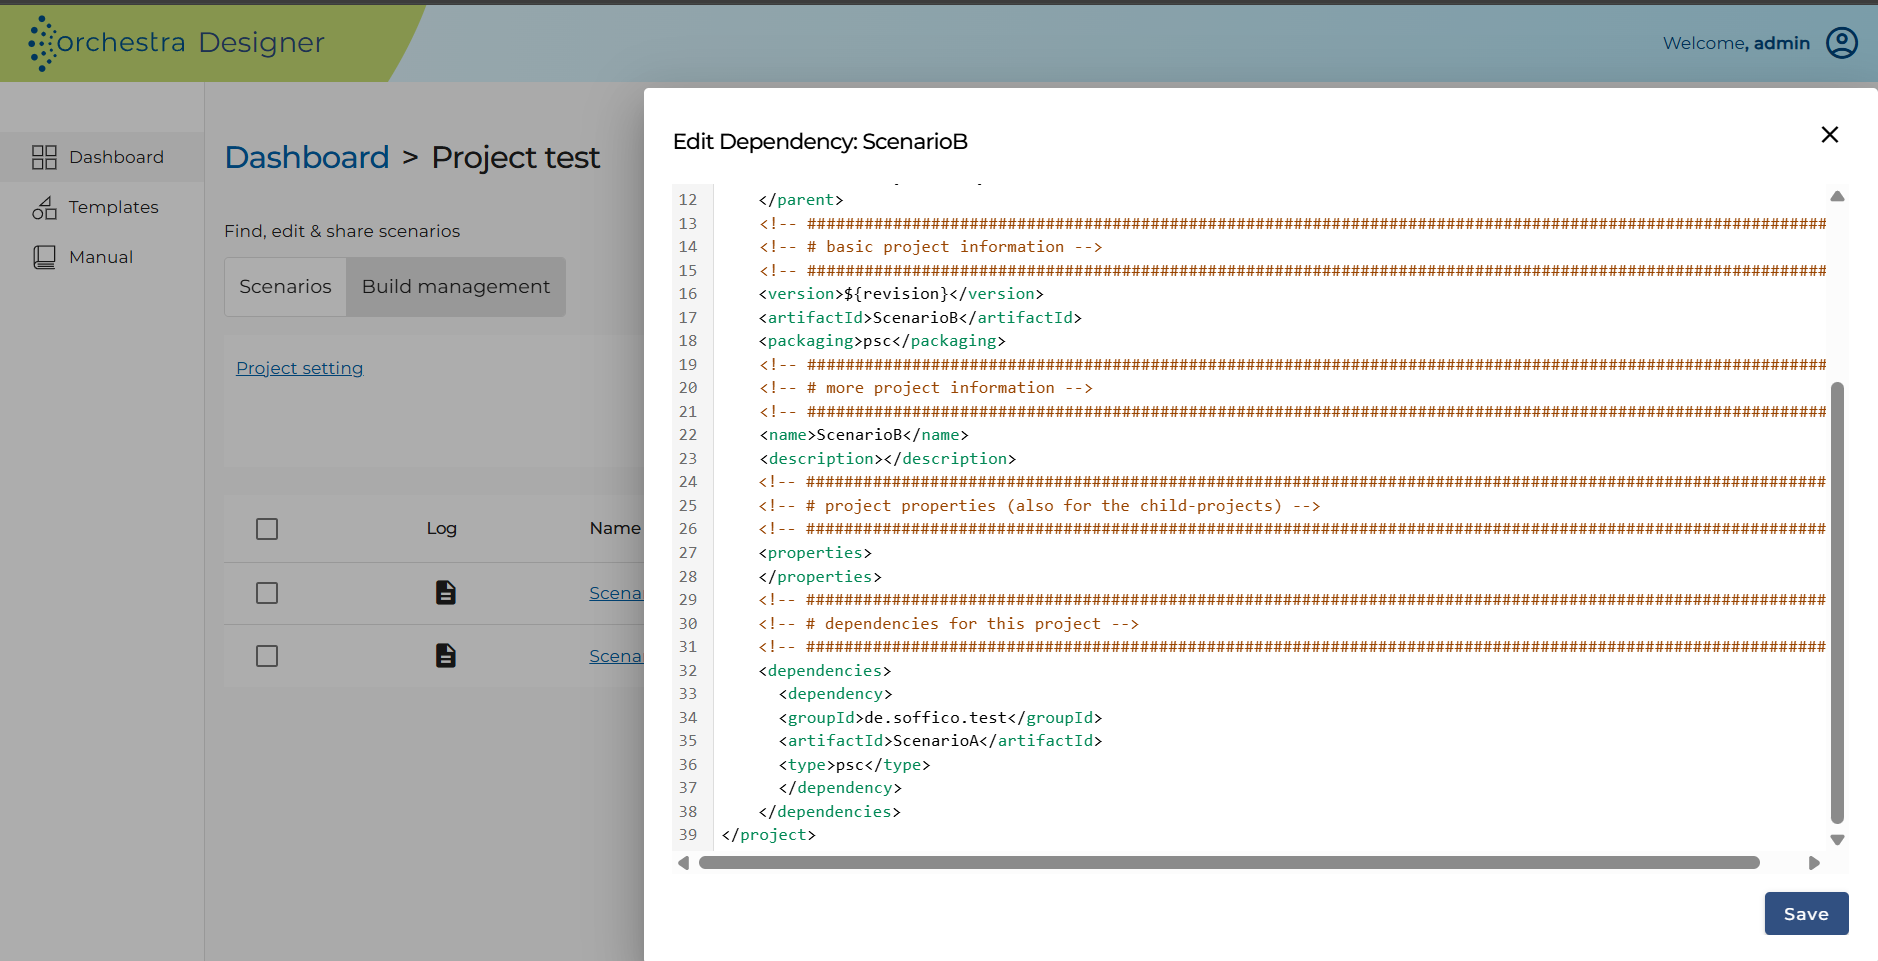
Before importing, you must configure a dependency tag in Build Management for the target scenario by specifying the project name of the source scenario.
For more details, see at Dependency Management.
How to import from another scenario
-
Open the target scenario.
-
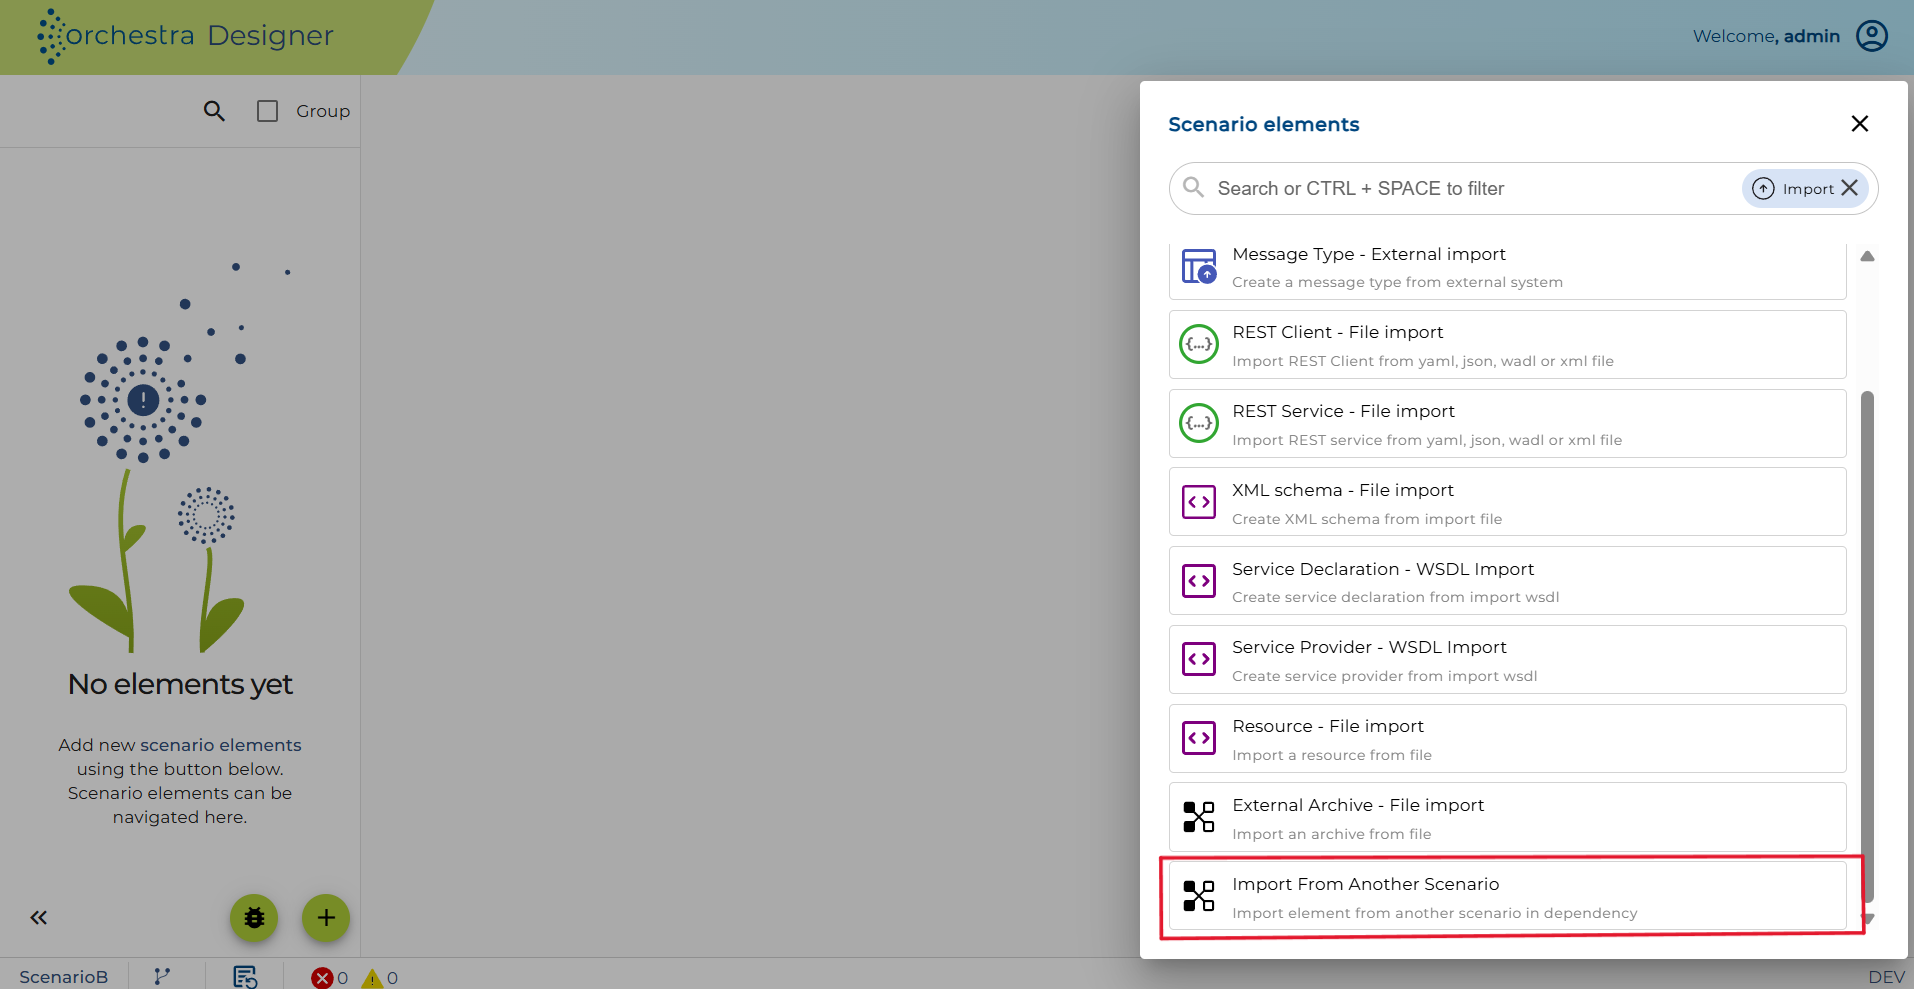
Click the plus (+) icon located at the bottom-left of the screen.
-
From the menu, select Import.
-
Choose Import from Another Scenario.
-
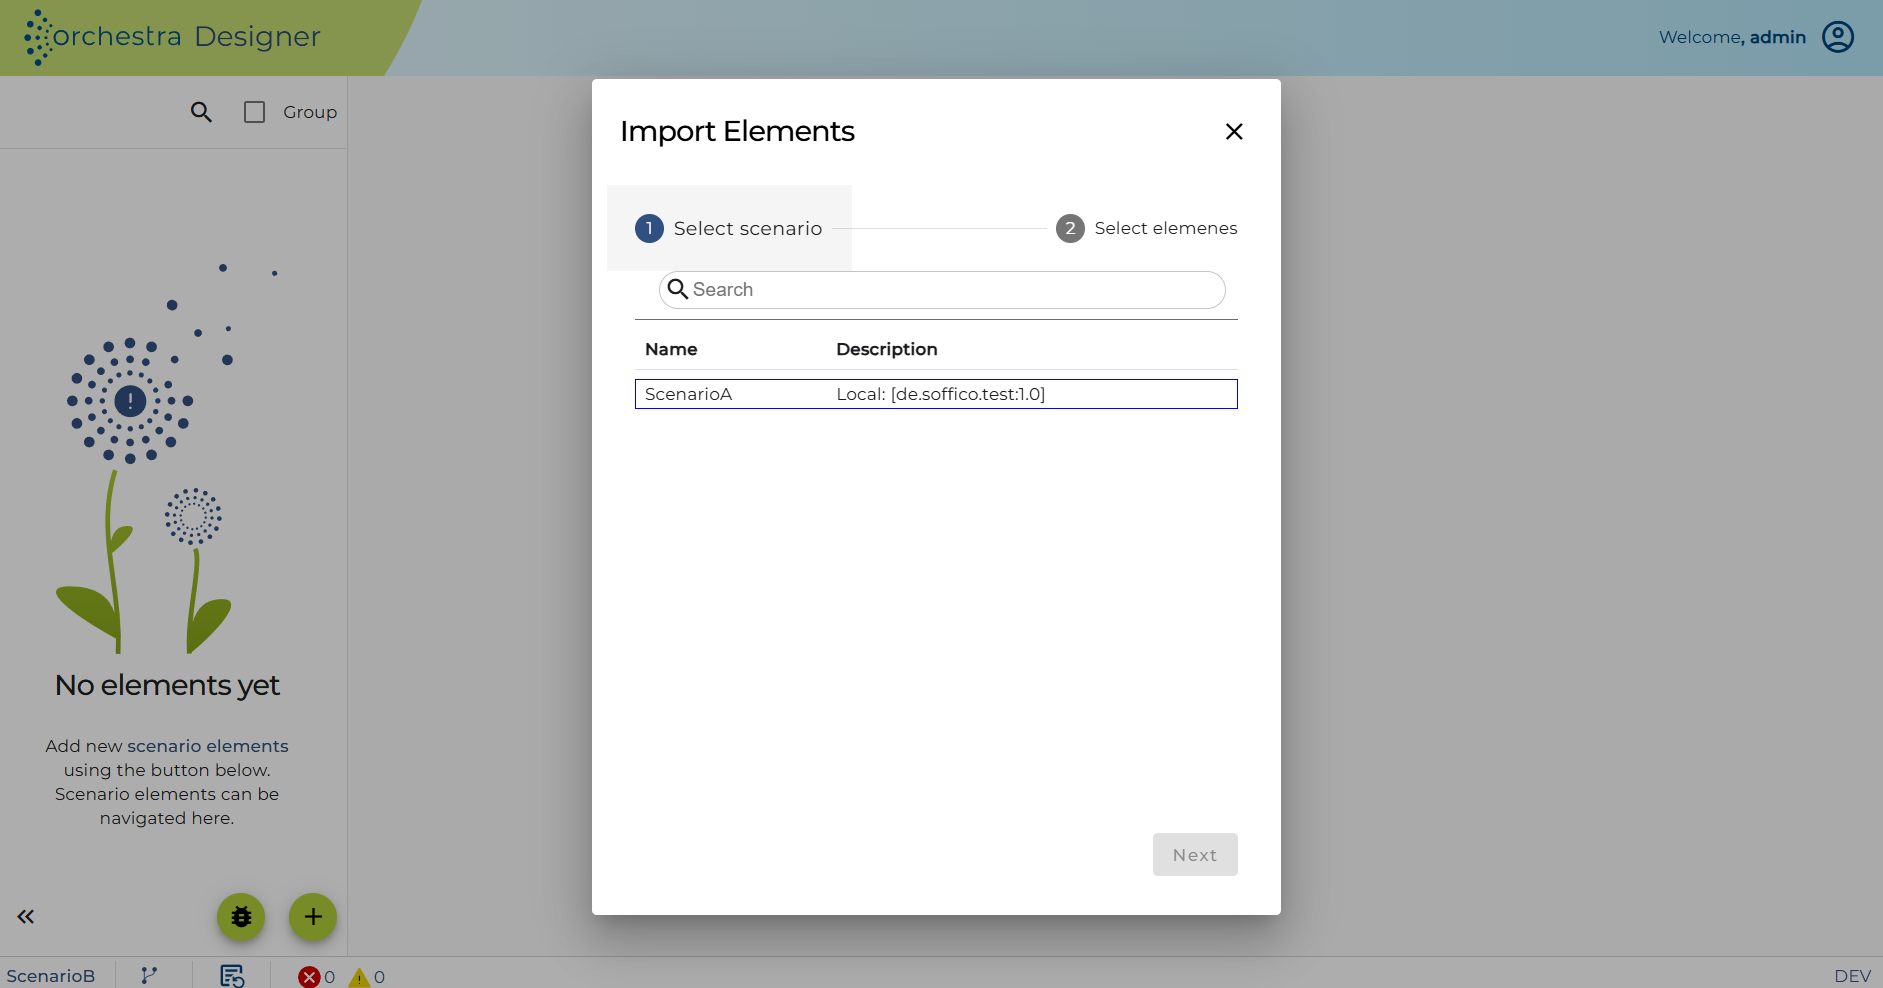
In the dialog, select the source scenario to import from and click next.
- Only scenarios defined as dependencies in Build Management are available here.
-
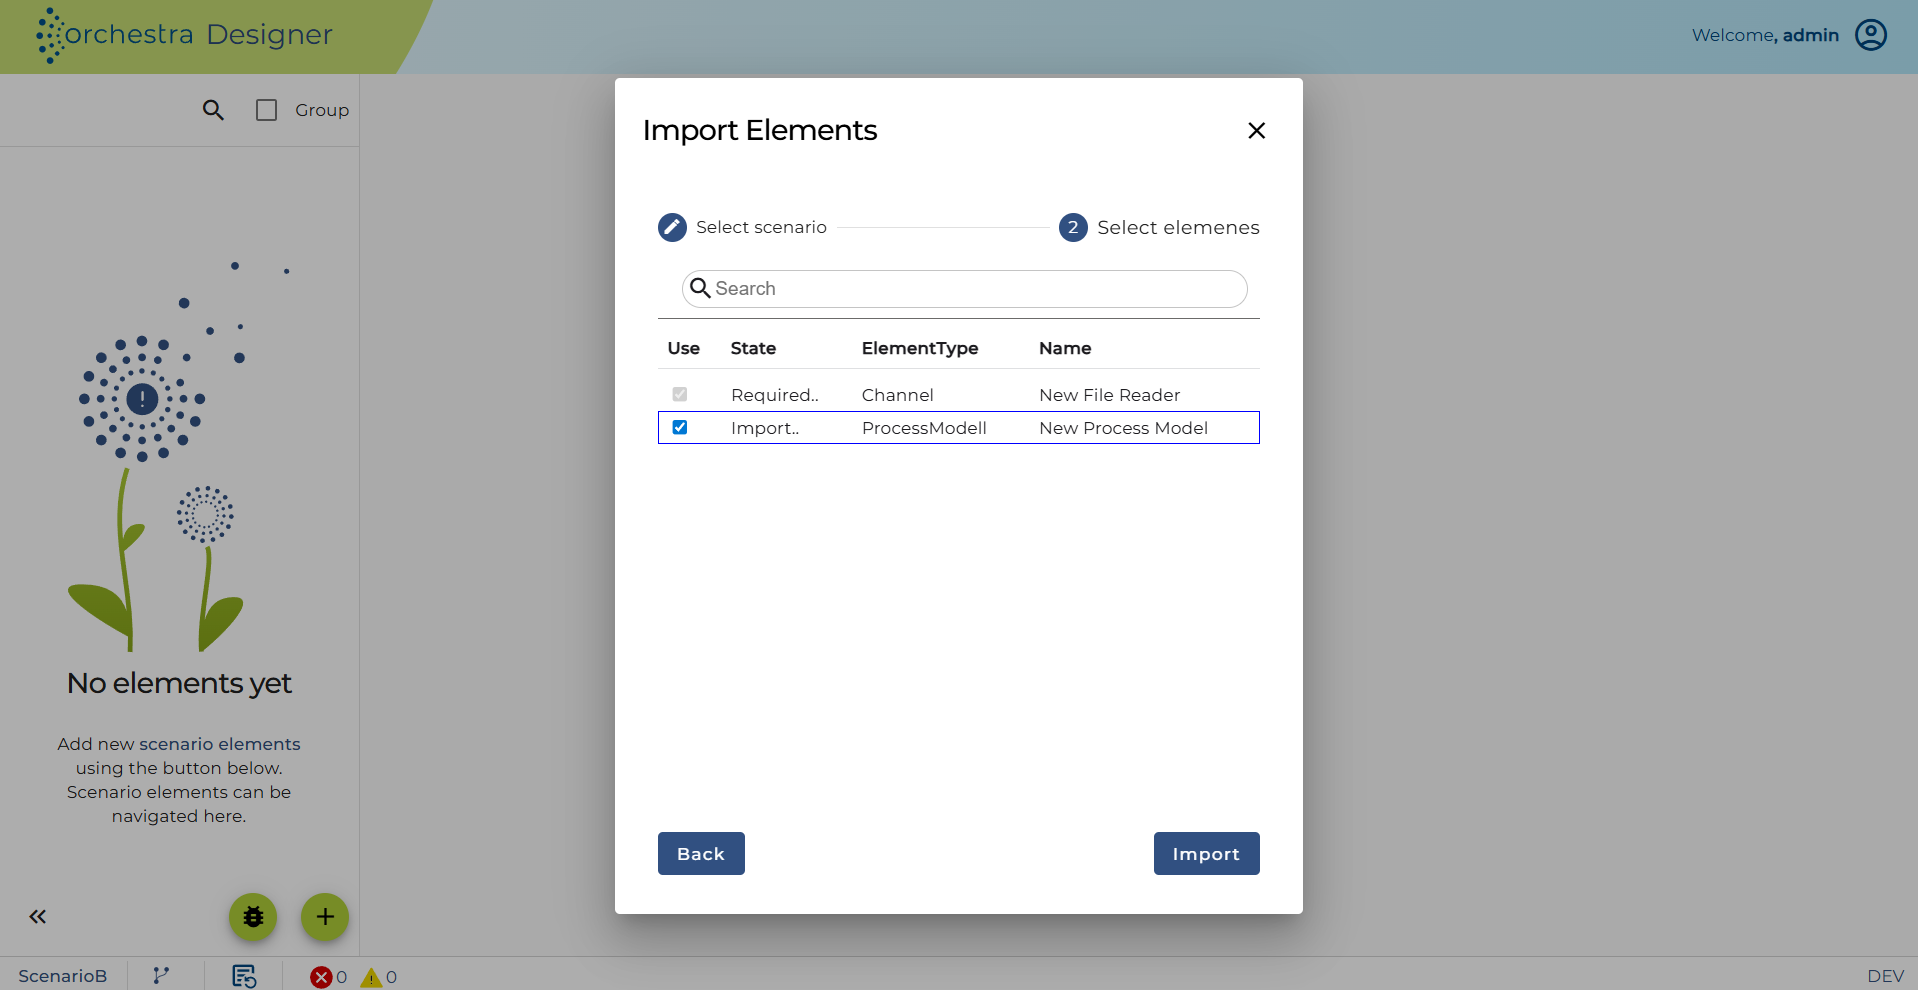
Select the elements you want to import.
- Any required items will be automatically included.
-
Click Import to finish.
Managing Source and Local Changes
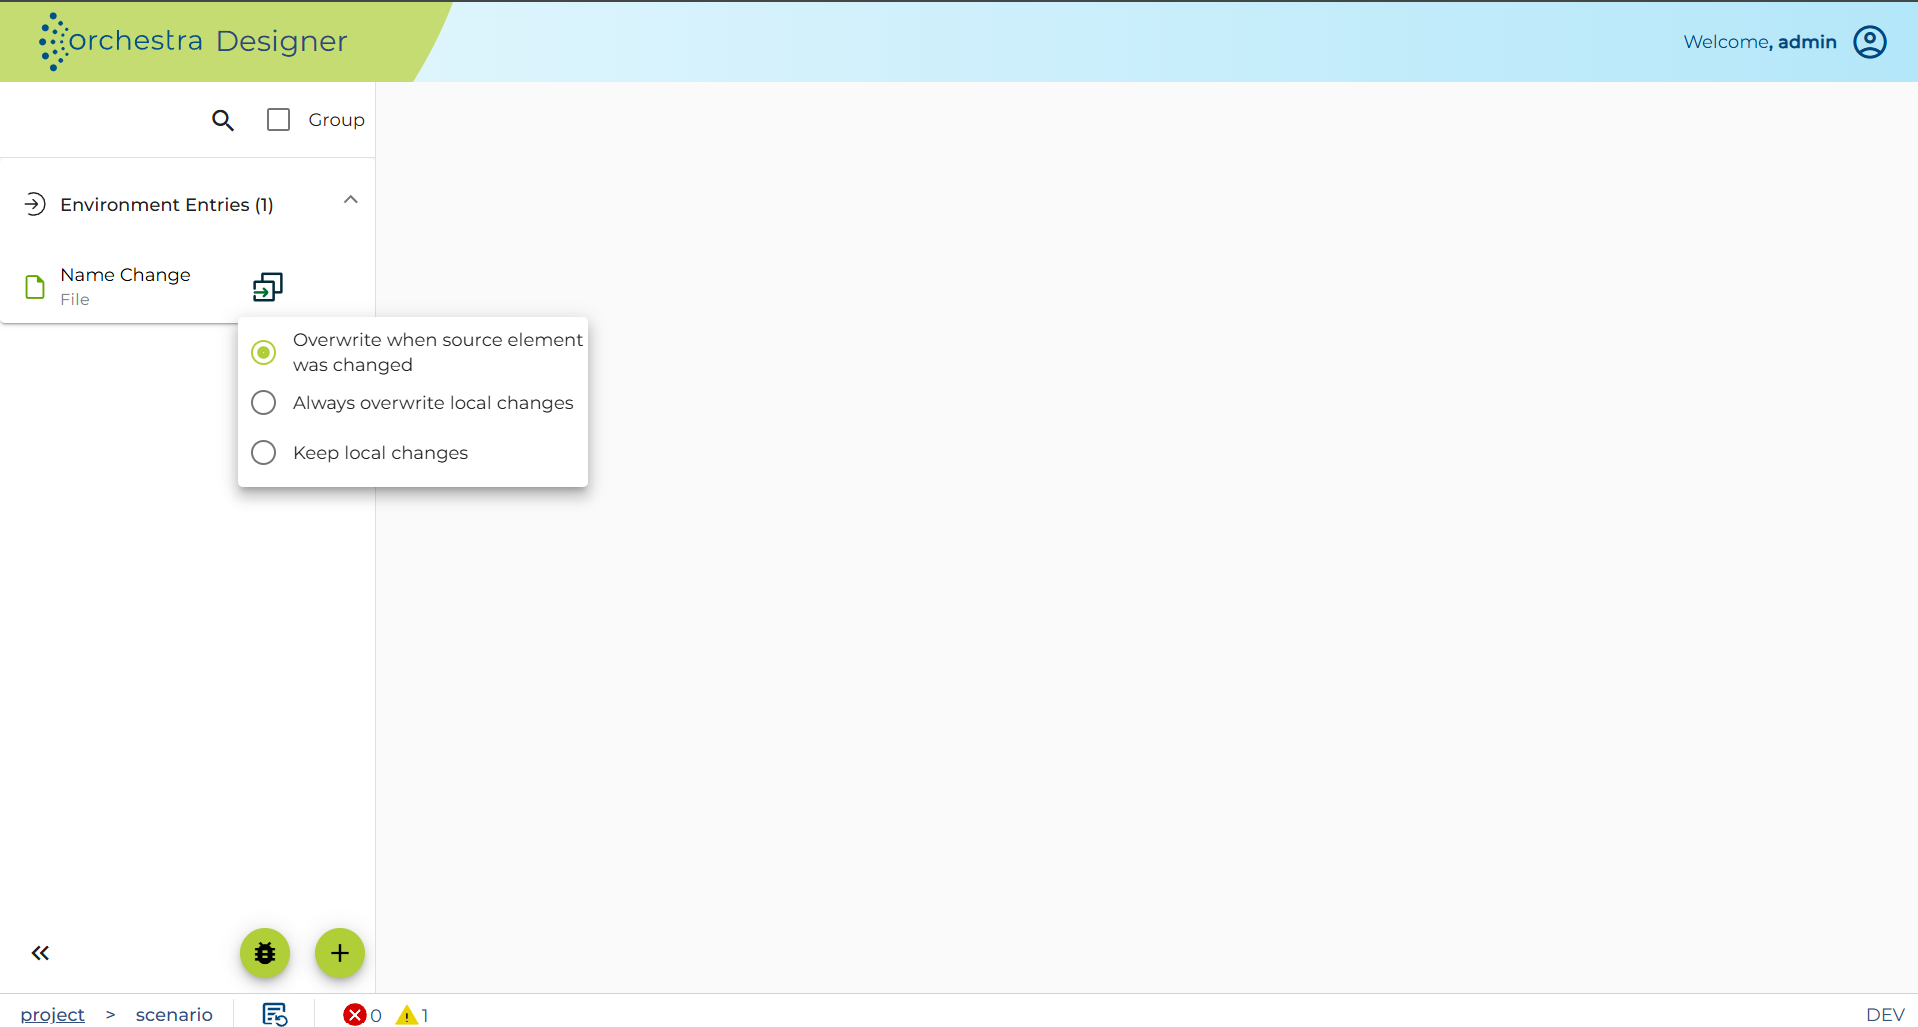
After elements have been imported, users can click the Import icon next to the imported element to manage how updates from the source scenario are handled.
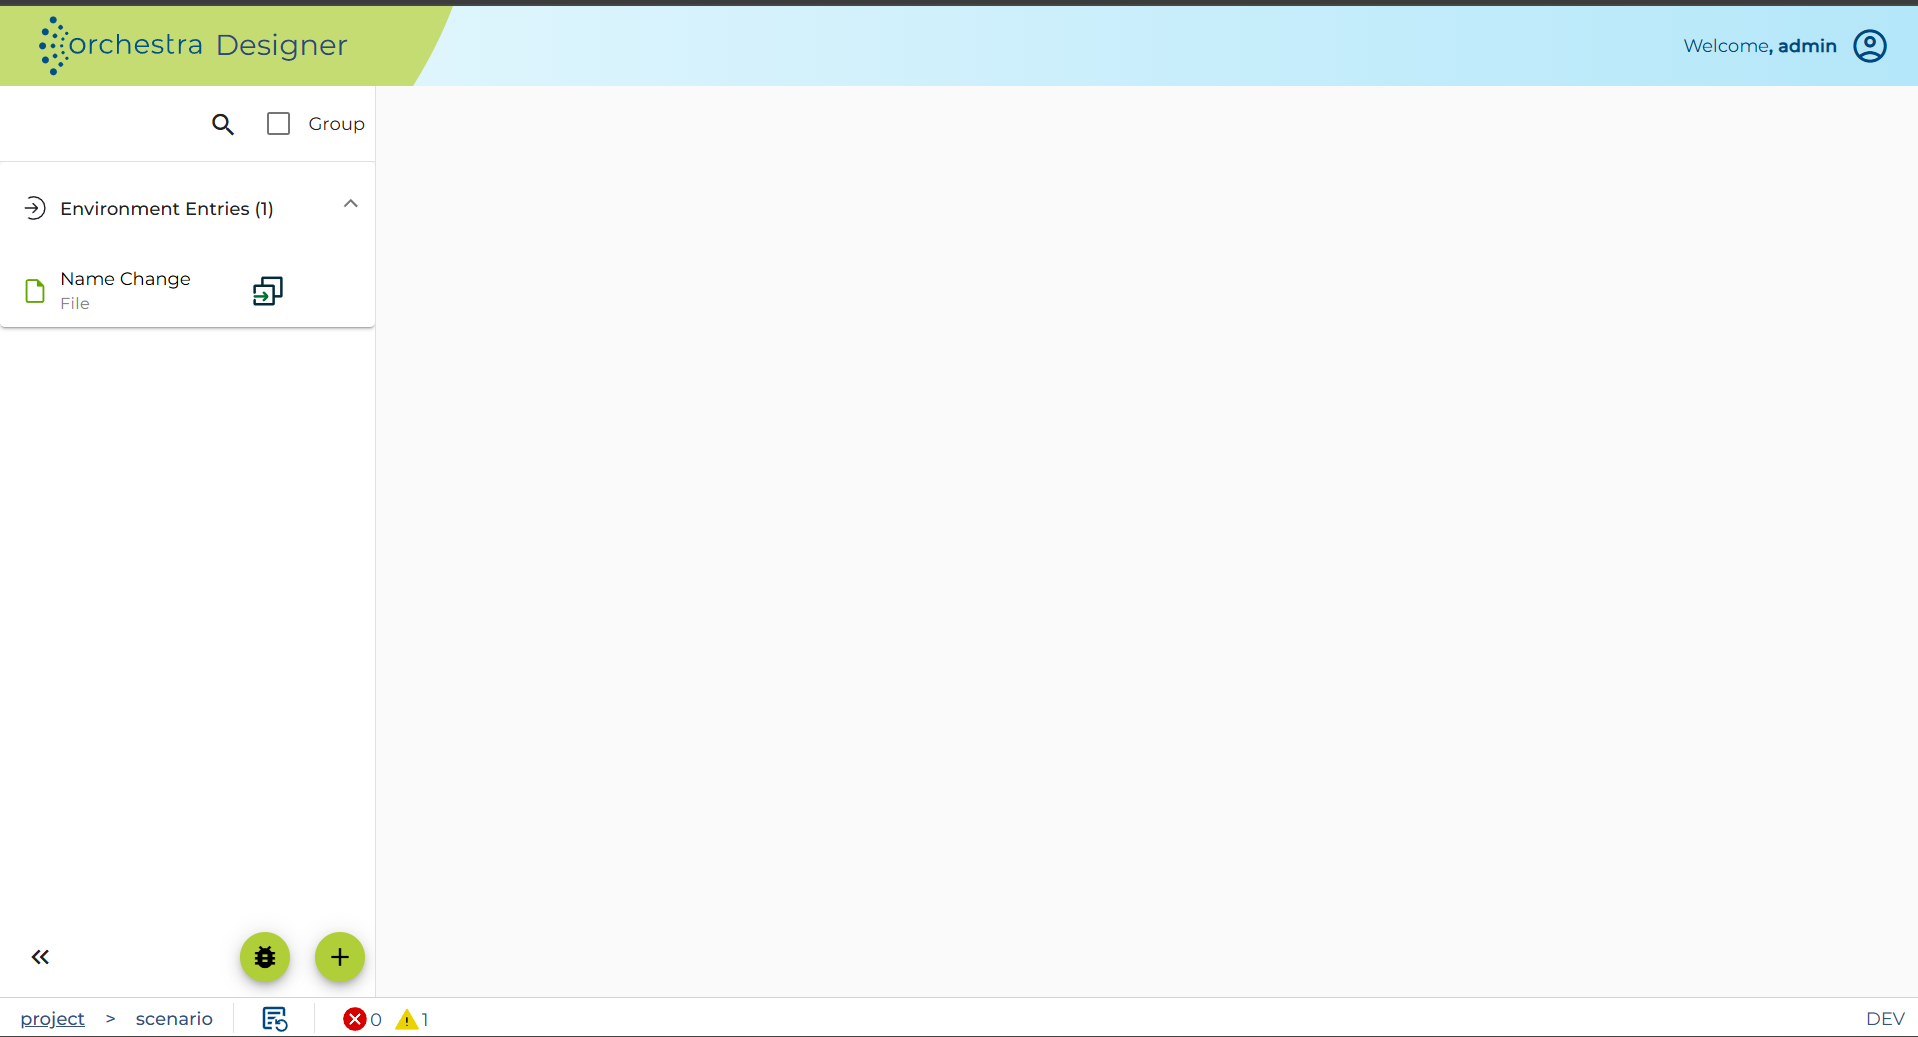
The panel provides three options for controlling what happens when the source element changes:
- Overwrite when source element was changed – Overwrites the target element only if the source version has been updated.
- Always overwrite local changes – Always overwrites the target element with the source version, even if it has been modified locally.
- Keep local changes – Keeps the target element as-is and ignores updates from the source.